This site contains affiliate links to products. We may receive a commission for purchases made through these links at no extra cost to you.
GARLAND GALORE!
Fast forward about 8 years to the present. I was following a blogger, Barb, from the Facebook group and website called The Shabby Tree.
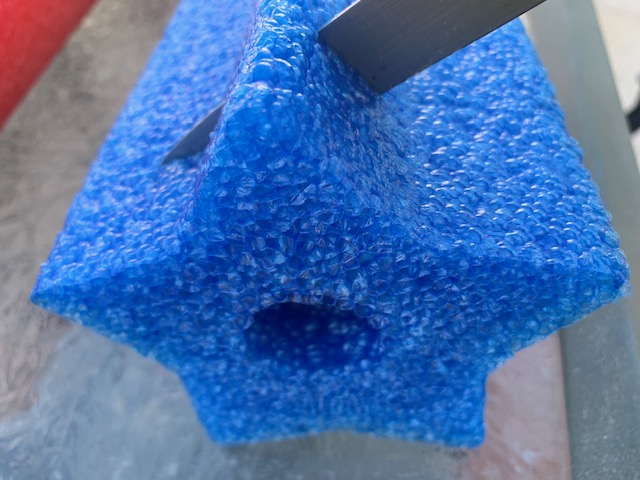
In one of her Fourth Of July video tips, she cuts Wal-Mart pool noodles with a sharp kitchen knife. In 10 seconds my mind is blown. Where has this idea been all these years?? S.E.R.I.O.U.S.L.Y.
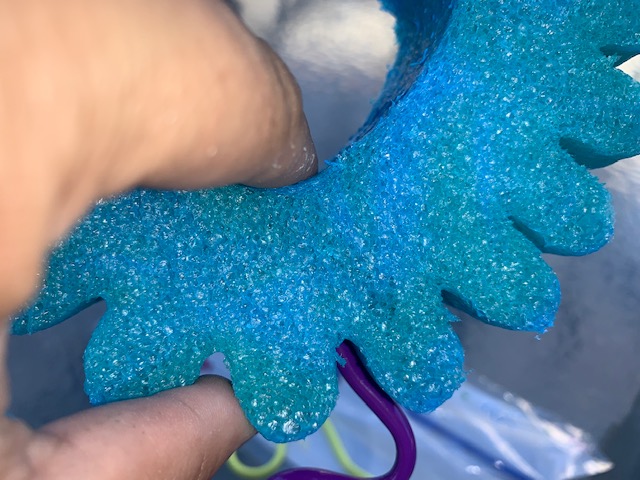
The ones she was demonstrating were the oversized, extra thick, red circles and blue stars that I had passed by numerous times in the isle of our Wal-Mart. During Covid-19, I’d hit Wal-Mart for groceries and you know, a quick meandering of the store to keep my sanity, so I was familiar with these beauties. I brought them home to have some unplanned fun.
Supplies:
- 1 red circle pool noodle – I used the heavy kind but a thinner dollar one would work too (I found this one at Wal-Mart for $5.97)
- 1 blue star pool noodle (I found at Wal-Mart for $5.97)
- sharp kitchen knife or hack saw
- twine (I found this spool at Dollar Tree $1.00) and scissors


Directions:
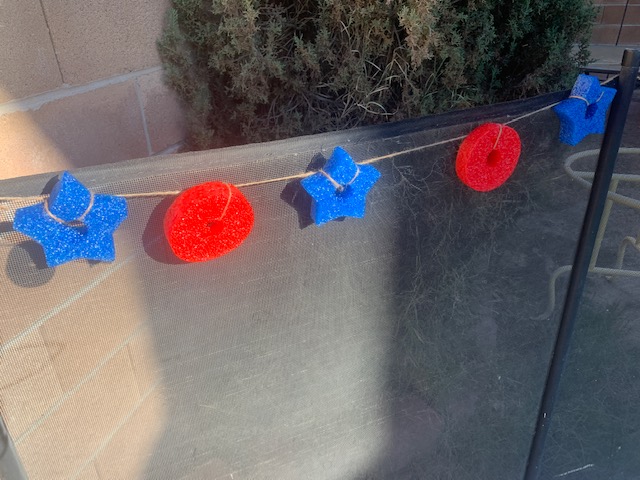
- First measure the length that you want your garland to cover including a little extra for the swoop hanging part (where you loop it over a pole or pin it to create the drape effect) THEN DOUBLE THAT NUMBER (I had 9 feet of fence I wanted to cover so I cut 18 feet of twine)
- Loop one end and tie in a knot. This will be used for hanging.

- Next decide how thick you want your slices. I did two finger width and sliced with a sharp kitchen knife. You could also use a hack saw. I did it outside as it left a little bit of foam pieces as you slice. I got 48-49 pieces from each noodle so I could do ornaments for a holiday or military themed tree or floating with battery powered candles too!
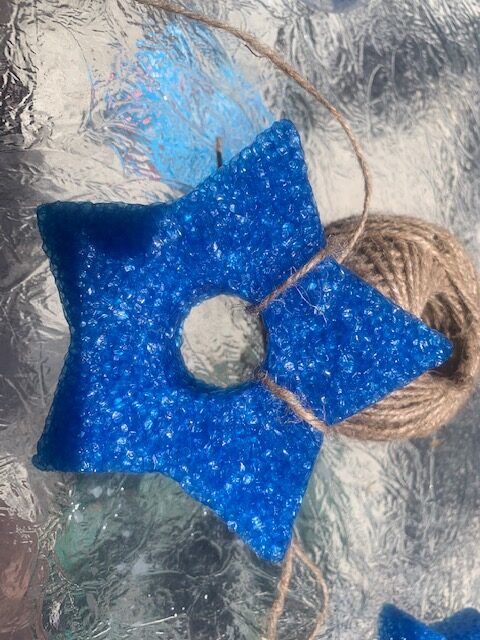
- Next I started with the blue star. I wasn’t sure what to do but it ended out working out the best for what I wanted. I pulled the twine through the center of the star from behind the looped it through the back piece like the beginning part of tying your shoe. Then I came through the center again from behind and did the same on the other side of the top point and pulled securely. This made my star look like it had twine”backpack straps” on.
- The red circle noodle is a heavier one also which I had cut the same thickness as the stars. I left about 2-3 inches and threaded the twine through the center of the circle from behind. Then I looped it in the back and tied it in a knot and then alternated blue and red until I had about 7 inches of twine left to tie a loop for the other end. Viola!
I had posted my slices on the Barb’s crafting Facebook group and had many envious crafters – and when they unite, they are fierce! I wasn’t aware that so many Wal-Marts don’t carry the same items and I get that some things are regional, but hey, pool noodles can be used in the front yard, down by the river or lake and lots of places. Just keep your eyes peeled!
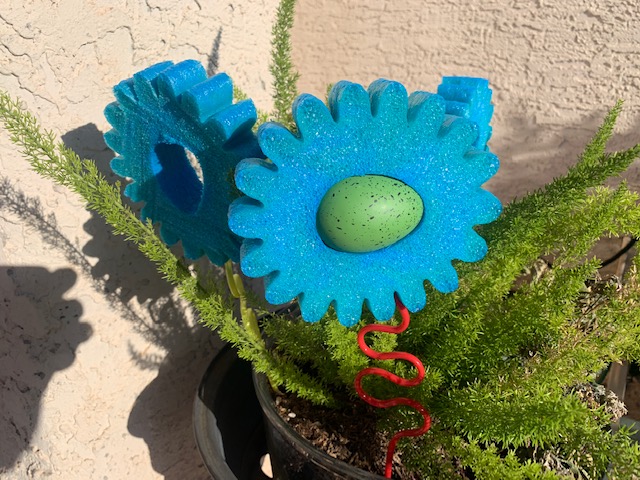
FUN FLOWERS!
Since I found that you could cut those, I’ve been brainstorming. I saw this beautiful box of Pool Noodle BOOSTERS at the Dollar Tree check out.

They are designed to either connect a pool noodle to form a ring (single one), or using two by placing one on each end of a noodle to form a balancing barbell type.
I totally see flowers! ~Melanie@BarnGrubLife

Supplies:
- Noodle Booster(s) -I got mine from Dollar Tree in various colors – One made 5 flowers
- 1 or more packs of wavy straws – I got mine as a 6 pack of Krazy Straws from Dollar Tree or use whatever you want as stems: floral picks, skewers etc. Here’s my Amazon affiliate link for the straws as well : https://amzn.to/32wORyN
- Glue gun/sticks if planning to display them outdoors
- Center items optional – see below
- Hacksaw or sharp kitchen knife
I initially purchased a pack of plastic ping pong balls and a pack of plastic golf balls ( I liked the texture) for the flower centers but they were a bit small and the openings were odd shaped. If you wanted to use these, you’d want to glue them to a piece of card stock or cardboard first then glue on the back of the flower. I ended up not using them for this project.
Directions:
- First I cut my noodle booster in slices with a hacksaw. You could also use a sharp kitchen knife but these were a bit stiffer than some of the noodles I’ve cut before. I cut each flower at a two finger width to get about 5 flowers from each one.

- Next I chose a spot in the edge of the foam that was the widest. This way I knew my straw would fit
- I held from the inside with my finger so the straw wouldn’t go through and pushed the straw into the edge of the flower
- If you are planning to place these outside, I recommend using a glue gun and dropping some in that hole to secure the Krazy Straw or whatever you are using
- Optional leaves – you can add leaves with green pipe cleaners or greenery if desired

- Next I contemplated what I wanted in the center. I left some plain, and added some rustic Easter eggs that I got on clearance from Hobby Lobby to the others. You could also add fun photos if using these for kids, camp, nursing home patients or more! Just have fun and be creative :).